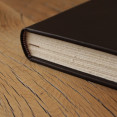
New Year, New Resolutions. Today we are going to learn how to make a simple journal for you to carry around to remember and keep notes of your goals.
I’m going to show you how to make this notebook using inexpensive tools, and some that you may have around the house.
What you will need:
1 sheet of decorative paper (Paper Source)
1 piece of heavy cover paper (6PLY) (Blick Art Materials)
4 sheets of paper (The Paper Store and More)
2 needles
1 awl
Wax thread
1 ruler
1 bonefolder
1 paper knife
1. Cut the decorative and heavy paper just a few millimeters bigger than the inside pages and spray the glue to have it together.
2. Fold the paper in half. Use the bone folder to make a crease. I like to use a simple ruler to cut the paper in half. I do it this way because I like the texture that comes from cutting the paper with the ruler. But you can also cut the paper in half using a paper knife.
3. After cutting all the 3 pages in half, stack the 6 pages that you will have now and fold them all together in half.
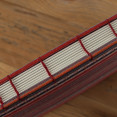
4. Using the spare paper sheet, I created a template to make the holes in the pages. Use a pencil to mark a dot with 1/4 of inch distance. Put your template on the top of the stacked sheets and make holes with the awl on the marked dots. Do the same with the cover.
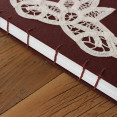
5. Using the two needles, each one in one side, start to sew the book by going through each hole, and then after you finish doing that with the first needle, do the same with the second. Make a knot at the end.
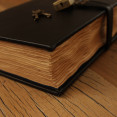
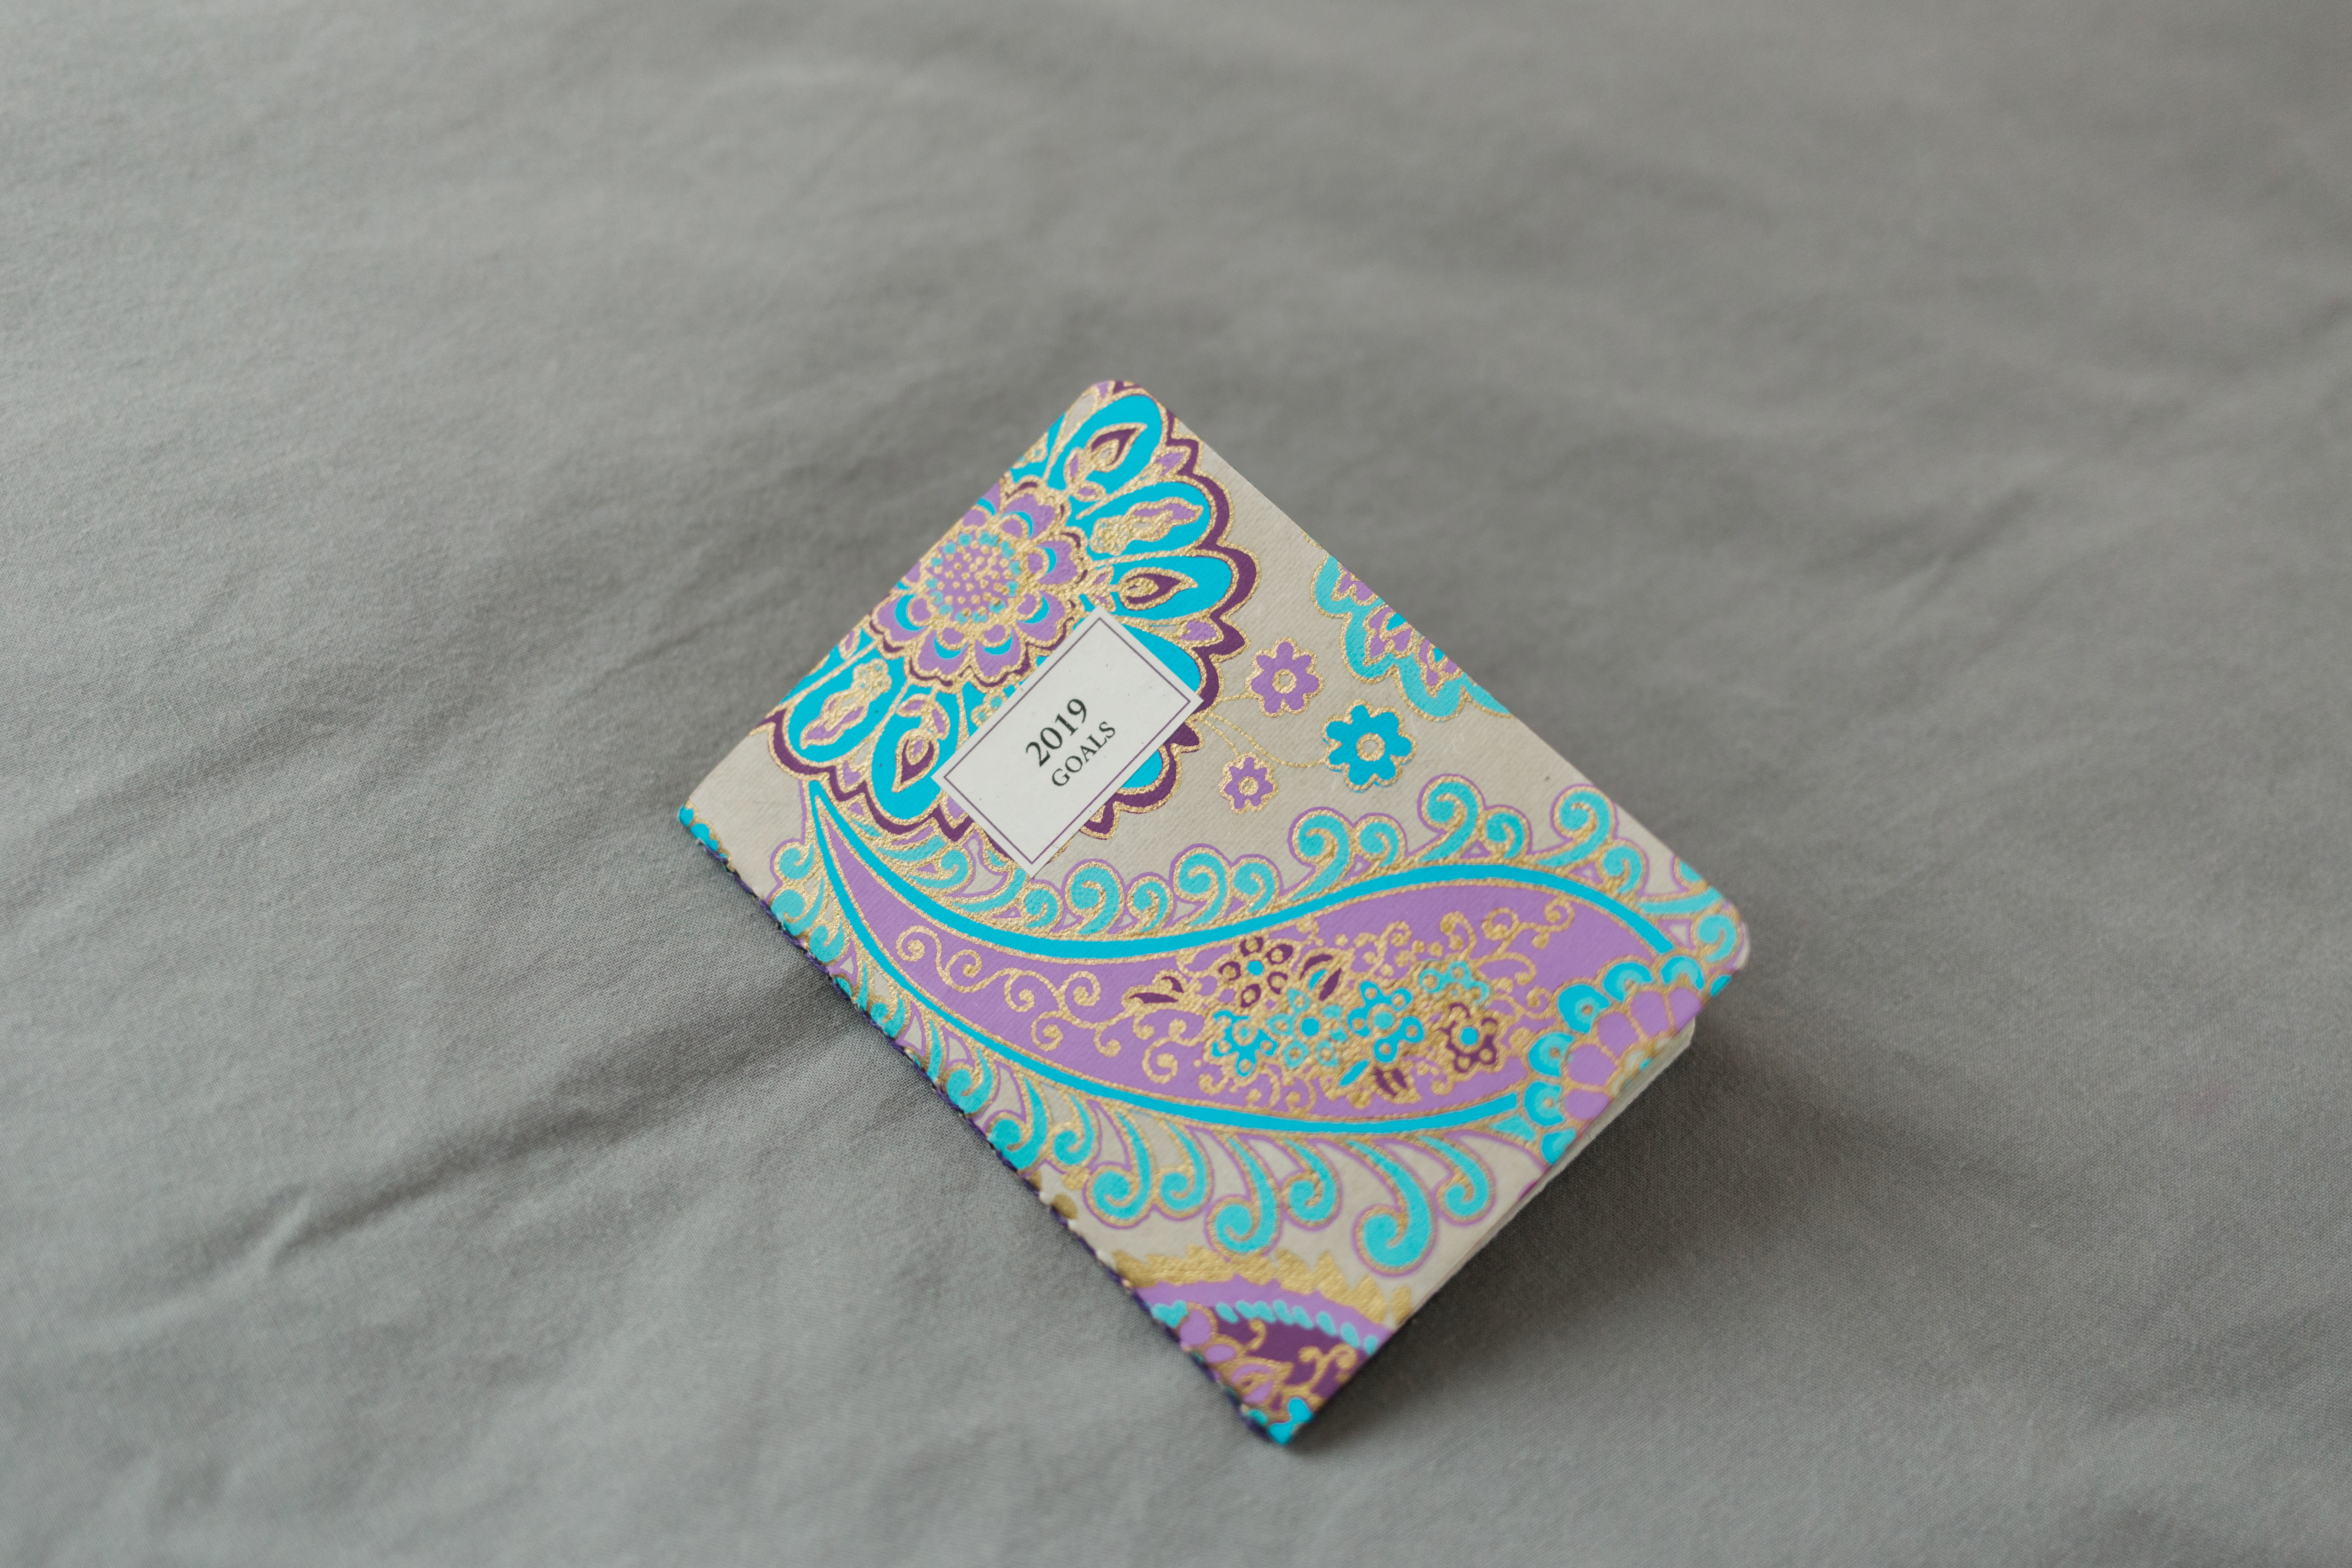
6. You can also print a label to name your notebook, round the corners, and personalize as you wish.
I’ll be posting later the templates for you to download, so come back! :)